
")
")


Pinning a post to the top of your Instagram profile is a smart way for photographers to showcase their best work and engage potential clients. In this guide, we’ll show you how to create an eye-catching 3-post Instagram banner using our 25 unique designs tailored specifically for photographers. We’ll also teach you how to easily split the banner with our Instagram Post Splitter tool and give you ideas on making your profile stand out! ✨
What is a Pinned Post on Instagram?
A pinned post is a specific post you choose to keep at the very top of your profile. This is an excellent way for photographers to highlight recent sessions, all theirs services, or important announcements. Even when you add new content, these pinned posts will always be the first thing your visitors see, setting the tone for your instagram feed and .
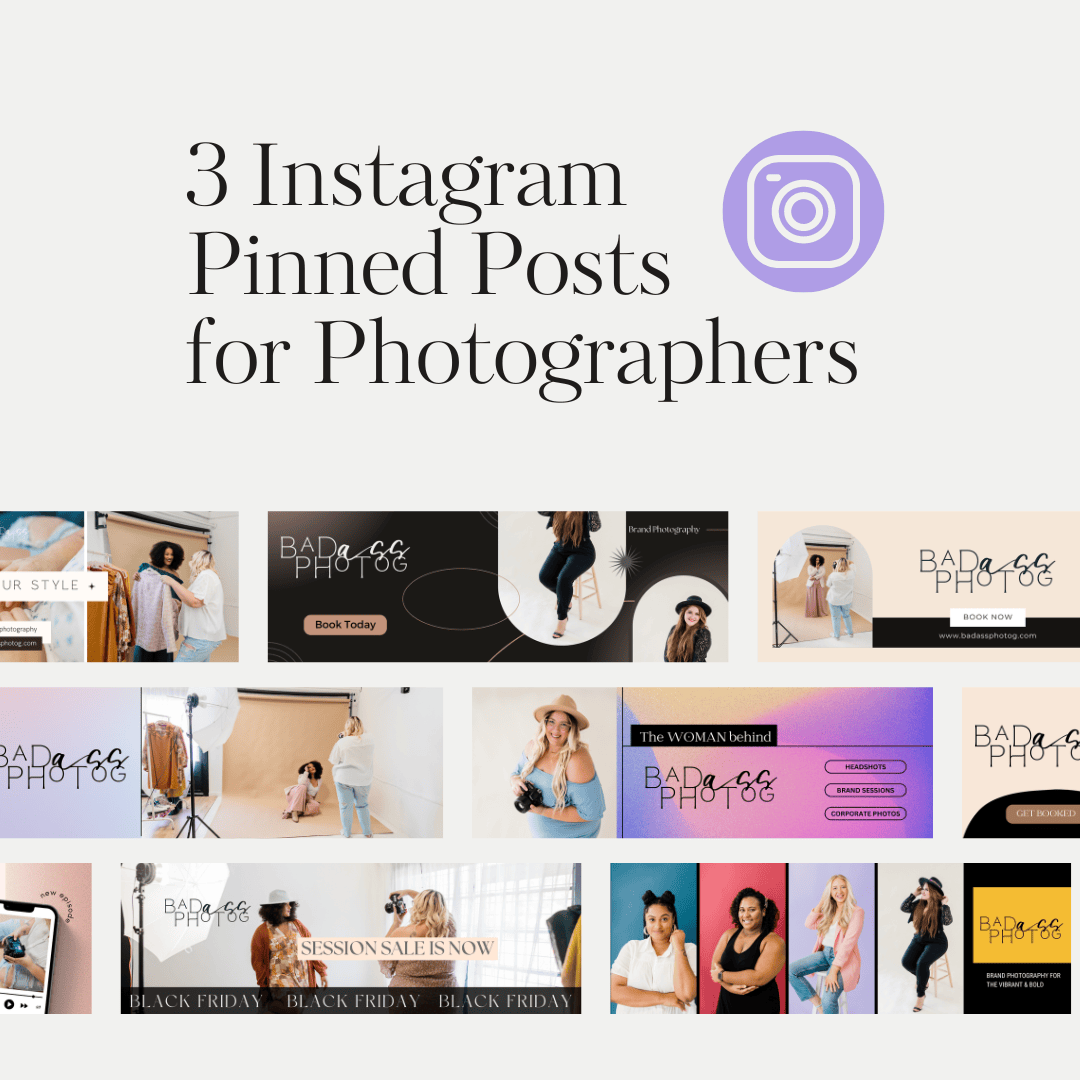
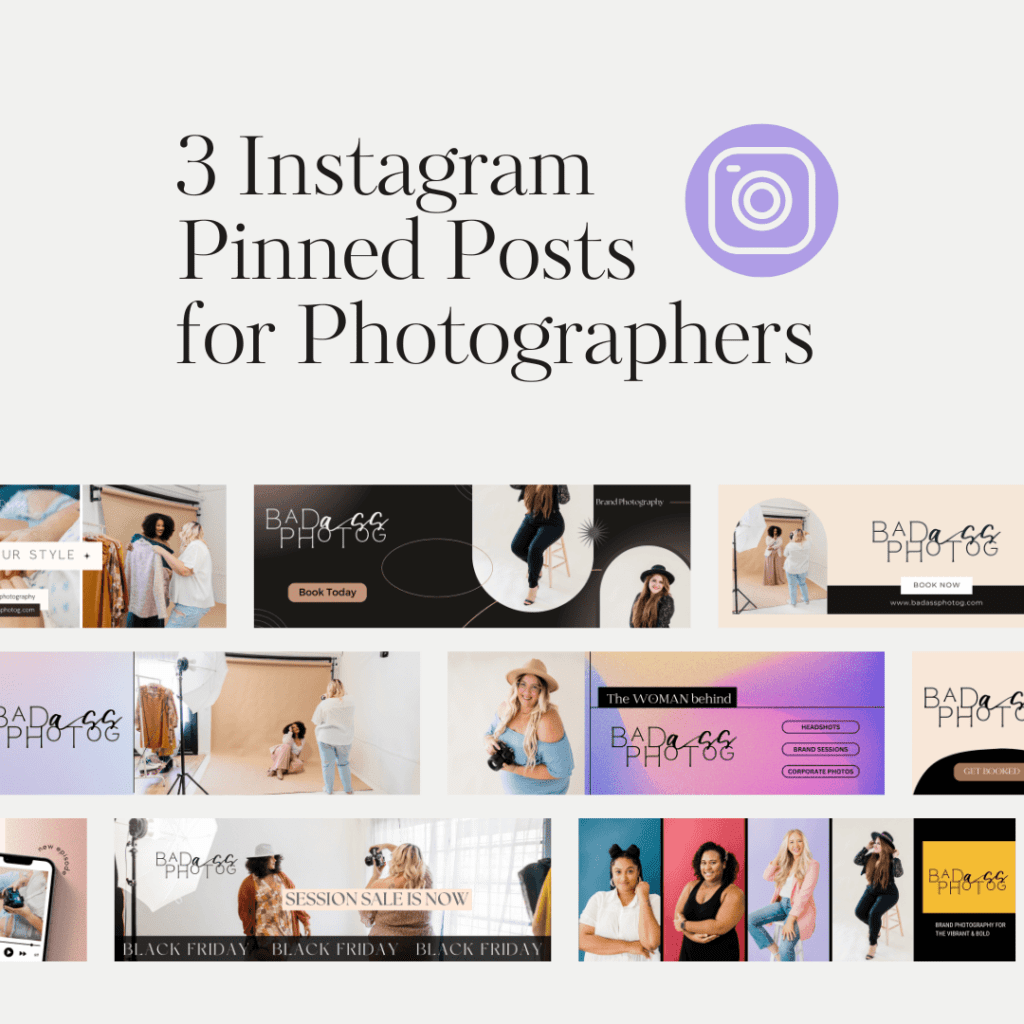
Instagram Banner Example for Photographers
Using a 3-post Instagram banner allows you to create a cohesive visual story that grabs attention. For example, showcase a mini portfolio, highlight your photography style, or announce seasonal specials right at the top of your profile!
How to Pin a Post on Instagram
- Choose the post you want to pin to your profile.
- Tap the three dots in the top-right corner of the post.
- Select “Pin to Top” from the dropdown menu.
- Decide whether you want to pin it permanently or for a limited time.
📌 Pro Tip: Use this feature to promote a new photography session, share client testimonials, or introduce your latest blog post. Just make sure the content you pin is engaging and represents your photography style!
📌 Pro Tip: Remember you will need to post these in reverse order, and pin them in reverse order for the best results.
What is a 3-Post Instagram Banner?
A 3-post Instagram banner is a seamless visual that spans across three posts on your profile, creating a striking and cohesive look. It’s perfect for photographers who want to showcase their portfolio, announce upcoming mini-sessions, or give their feed a professional and polished appearance.
Types of Banners You Can Pin to the Top of Your Instagram Feed
Here are some creative banner ideas specifically designed for photographers:
- One Photo: Create a dramatic look with a single, stunning image split into three parts. This approach is perfect for showcasing a hero image from your favorite session.
- Brand Name: Introduce your photography business with a banner that displays your name or brand. Use the captions to detail your services or how clients can book a session.
- Welcome Banner: Greet new followers and give them a sense of your photography style and what they can expect from your profile.
- New Session/Event Info: Announce upcoming mini-sessions or special event bookings and encourage sign-ups directly through your post.
- Best Packages: Highlight your most popular photography packages (like family sessions, senior portraits, or weddings) to give followers an overview of your offerings.
- Client Testimonials: Share rave reviews from clients to add social proof to your profile.
- Promotions: Launching a sale or discount? A promotional banner can help drive bookings.
- Coming Soon: Tease upcoming photography sessions or seasonal promotions to generate buzz.
- Contact Info: Make it easy for potential clients to contact you by pinning your email, phone number, or booking link.
How to Create a 3-Post Instagram Banner for Photographers
Step 1: Design Your Banner in Canva
- Open Canva (or your preferred design tool) and create an image with the dimensions 3240px by 1080px.
- Choose fonts, colors, and images that reflect your brand. Use our 25 Banner Options for Photographers to create a cohesive and professional design!
- Download the banner as a PNG file once you’re satisfied with the layout.
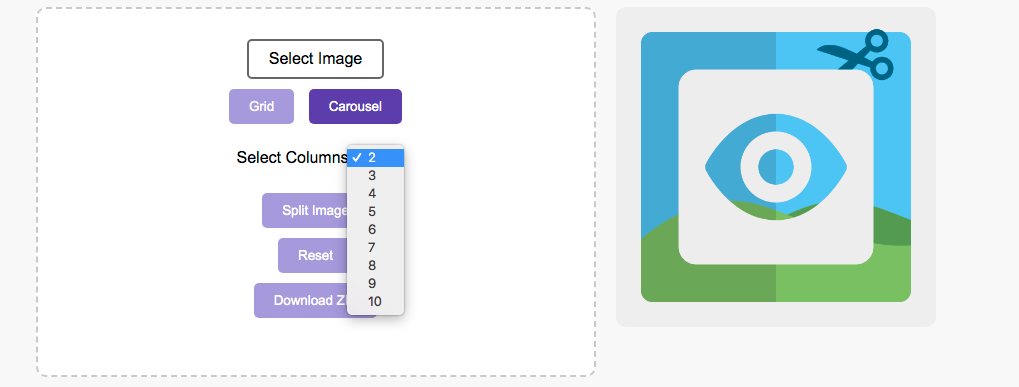
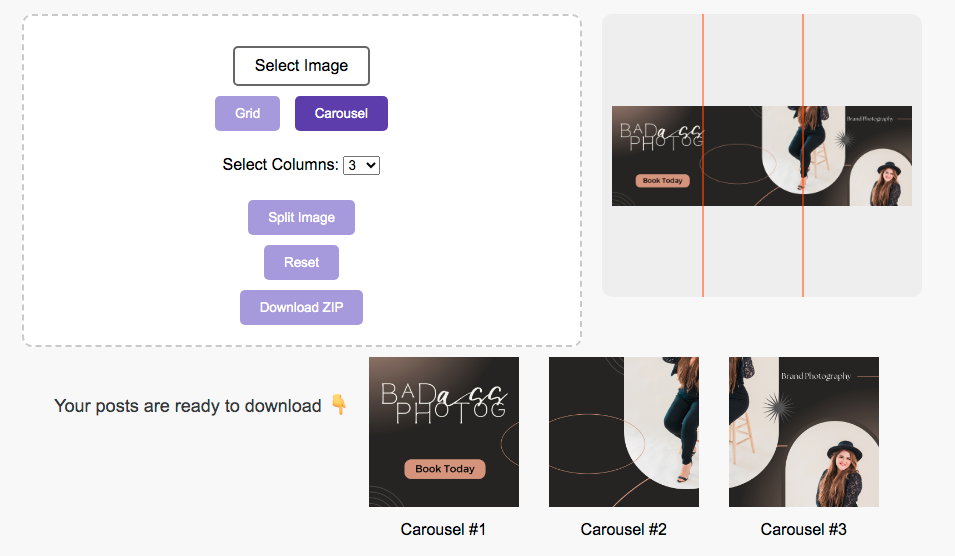
Step 2: Split the Image Using Our Instagram Post Splitter Tool
- Go to our Instagram Post Splitter tool.
- Upload your banner image and split it into three equal parts. This tool works seamlessly with both standard and grid puzzle designs.
- Download the three separate images to your device.
Step 3: Post Each Image with Captions
- Upload the three images to Instagram in reverse order so they appear correctly on your profile.
- Write engaging captions for each image, providing context, tips, or a call to action like “Book your session today!” or “See the full gallery on our website.”
Step 4: Pin Each Post to the Top of Your Profile
- After posting, tap the three dots in the top-right corner of each post.
- Select “Pin to Top” to create your seamless banner across the top of your Instagram feed.
🌟 Pro Tip: Styling Your Facebook Banner Too!
These banners can also be used for your Facebook page cover photo, giving you a consistent look across social media platforms.
Ready to Start Creating? 🎨
With our 25 banner options designed specifically for photographers, you’ll have everything you need to create an engaging and visually stunning Instagram profile that draws in clients. Use our Instagram Post Splitter tool to make the process quick and easy!
If you have any questions or need help getting started, feel free to reach out! Happy creating! 📷


